Rubber Ducky is a device that looks like a regular USB flash drive, but is able to automatically perform the specified actions on the computer. In this article, we will look at how to create your own Rubber Ducky based on a cheap microcontroller.
What is Rubber Ducky?
Rubber Ducky is a flash drive with a built-in microcontroller that emulates a USB keyboard. When connected to a computer, it automatically “presses” pre-programmed keys, simulating user actions.
Thus, an attacker can use Rubber Ducky to quickly and quietly perform malicious actions: installing software, stealing data, changing system settings, etc.
Making Your Own Rubber Ducky
To create our Rubber Ducky we need:
ATtiny85 microcontroller
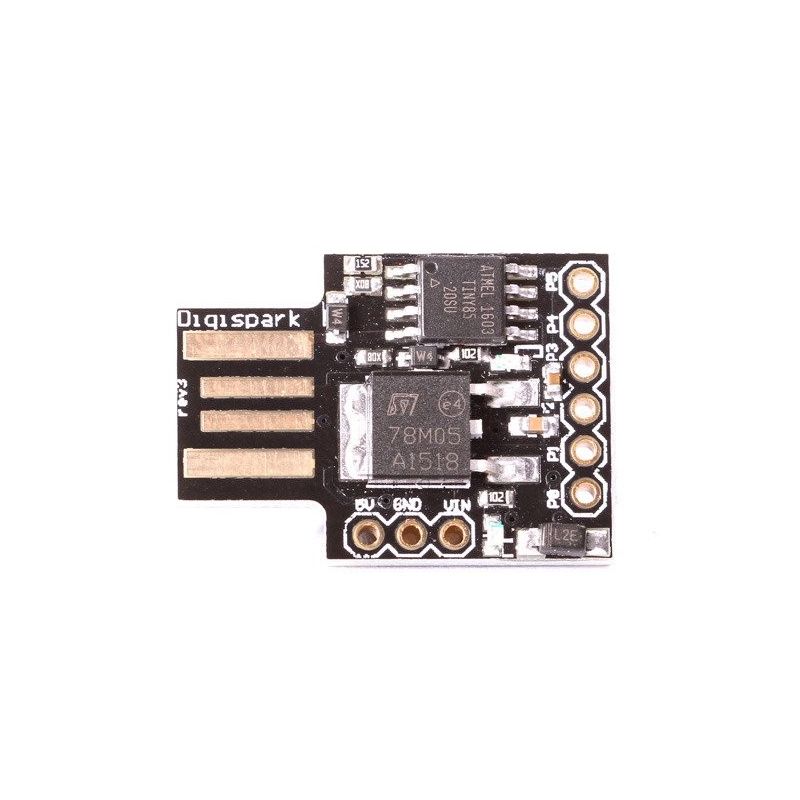
Digispark board
Micro USB cable
Arduino IDE Software
As the “brain” of our device, we will use the ATtiny85 microcontroller – a small 8-bit chip from Atmel. It has enough computing power and memory to solve our problems.
For convenience, we will use the ready-made Digispark board, on which this microcontroller is already installed. The board has a USB connector and makes it easy to program the ATtiny85.
To write code for the microcontroller, we need the Arduino IDE development environment with the Digispark drivers installed.
Rubber Ducky Programming
First you need to install the drivers, download them from the link https://github.com/LilyGO/DigiSpark-ATtiny85-driver-install
For linux command
sudo apt-get install libusb-1.0-0-dev
Here you will find details on how to install libusb on linux https://askubuntu.com/questions/629619/how-to-install-libusb
In the Arduino IDE https://www.arduino.cc/en/software in the settings window, we have to find the “Additional Board URL Manager” field and paste the following URL inside:
http://digistump.com/package_digistump_index.json
We connect the Digispark board and write the following simple code:
define kbd_en_us
include “DigiKeyboard.h”
void setup() {
DigiKeyboard.update();
DigiKeyboard.delay(5000);
}
void loop() {
DigiKeyboard.sendKeyStroke(KEY_R, MOD_GUI_LEFT);
delay(250);
DigiKeyboard.println(“notepad”);
delay(250);
DigiKeyboard.println(F(“Hello World”));
while(1);
}
This code, when connected to a computer, enters the text “Hello World” into the notepad. To emulate keystrokes, the functions of the DigiKeyboard library are used. You can change the keyboard of the board to the one that your computer uses, at the link you will find all available layouts. https://github.com/ernesto-xload/DigisparkKeyboard
The layout changes in the code here #define kbd_en_us
We upload the code to the board and check the work of our DIY Rubber Ducky. When connected to a computer, the word “Hello World” should appear in an open text editor.
Conclusion
We looked at how Rubber Ducky works and created our own similar device using a cheap microcontroller. Now you can use it for educational purposes and cybersecurity research. The main thing to remember is that unauthorized use of the Rubber Ducky is illegal.
More examples can be found here – https://www.patreon.com/itprosta/shop/digispark-attiny85-codes-7424?source=storefront