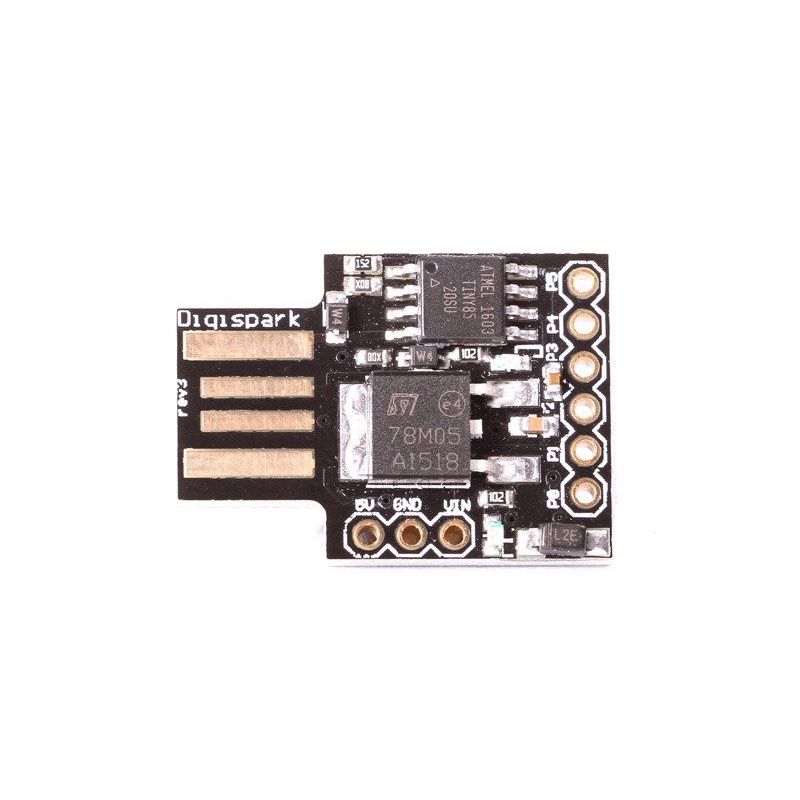
To program an ATtiny85 microcontroller, you will need:
- A computer with a USB port
- A USB to serial converter or programming board that is compatible with the ATtiny85, such as the Arduino Uno or a USBasp programmer
- A breadboard and jumper wires (optional, for prototyping and testing)
- A software development environment for writing and uploading code to the ATtiny85. You can use the Arduino Integrated Development Environment (IDE) or another option such as Atmel Studio.
Here is a general outline of the steps to program the ATtiny85:
- Connect the USB to serial converter or programming board to your computer and to the ATtiny85 using jumper wires.
- Install the software development environment on your computer.
- Open the development environment and create a new project or sketch.
- Write your code in the development environment, using the appropriate libraries and functions for the ATtiny85.
- Verify and compile your code to make sure there are no errors.
- Connect the programming board or converter to the ATtiny85 and select the correct board and port in the development environment.
- Upload the compiled code to the ATtiny85 by clicking the “upload” button in the development environment.
That’s a general overview of the process. If you are new to microcontroller programming, you may want to start with some simple examples and tutorials to get a feel for the process and learn about the capabilities of the ATtiny85.
Here are some resources that you might find helpful when programming the ATtiny85 microcontroller:
- Arduino’s documentation for the ATtiny85: https://www.arduino.cc/en/Reference/ATtiny85
- Atmel’s website, which provides technical documentation and support for the ATtiny85: https://www.microchip.com/wwwproducts/en/ATtiny85
- The Arduino Forum’s section on the ATtiny85: https://forum.arduino.cc/index.php?board=89.0
- The Arduino subreddit, which is a community forum for discussing Arduino projects and programming: https://www.reddit.com/r/arduino/
These resources should provide you with the information and support you need to get started with programming the ATtiny85. If you have any specific questions or need more detailed guidance, you can post your question on one of these forums and someone should be able to help you out.
